
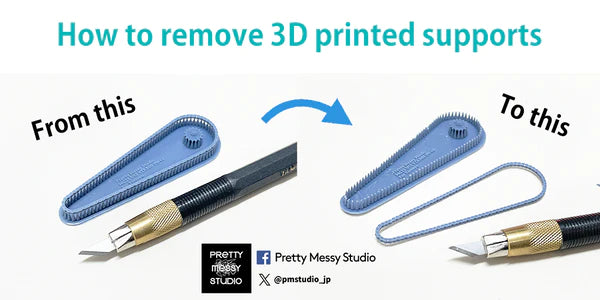

Proper support removal is crucial to achieve a clean and accurate 3D printed part. Especially our detail-up chain! Here's a more detailed breakdown of the steps:
Tools Needed:
- Hair Dryer / Heat Gun
- Art knife or scalpel with a sharp new blade
- Ultrasonic cutter (optional but recommended for precision)
- Safety goggles (for eye protection)

Steps:
-
Heat up the part (Optional): If you find the print bent or the supports too brittle to process. You can heat up the part with a hair dryer or heat gun for 15-30 seconds. The part will soften and became much easier to process.
-
Inspect the Print: Examine the 3D printed chain to identify the areas where support materials are connected to the model. These are usually thin structures connecting the main print to the support material.
-
Prepare Tools: Make sure your art knife or scalpel has a sharp new blade. A sharp blade will make the removal process easier and help you achieve cleaner cuts. If you have access to an ultrasonic cutter, it can provide even more precise cutting.
-
Start at the Tip: Choose one end of the chain to begin with. Carefully insert the tip of your knife or scalpel into the gap between the support and the main model. Gently wiggle and slide the blade to cut through the connection point. Take your time and apply steady pressure to avoid damaging the main print.
-
Work Along the Chain: Once you've successfully removed the support at the first tip, work your way along the chain, cutting through the connections one by one. Be patient and cautious to maintain the integrity of the main print. Avoid applying excessive force, as this can lead to accidental breaks or damages.
-
Slide Through the Tips: If your blade is sharp enough, you may be able to carefully slide it through the tips of the support structures without having to cut through each one individually. This can save time and potentially reduce the risk of damaging the model.
-
Inspect and Clean: After removing all the support materials, carefully inspect the chain to ensure that no remnants of the support are left attached. If there are any small leftover pieces, gently trim them away with the knife or scalpel.
-
Celebrate the Results: Once you've successfully removed all the support materials, you'll have a clean and detailed chain ready for your project!
Safety Precautions: Wear safety goggles to protect your eyes during the support removal process, as small pieces might fly off. Additionally, be cautious when using sharp tools to avoid cuts or injuries.
Remember that practice makes perfect, especially when it comes to delicate tasks like support material removal from 3D prints. Over time, you'll develop a better feel for the process and achieve even more consistent results.